
Balloon arches are eye-catching and delightful decorations that add a touch of fun and elegance to any event. From weddings and birthday parties to corporate gatherings and community celebrations, a well-crafted balloon arch becomes the perfect centrepiece that captures the attention and admiration of guests. In this blog, we will guide you through the step-by-step process of making a balloon arch, allowing you to add a magical touch to your next event.
Gather Your Supplies
Before you begin, make sure you have all the necessary supplies to create your balloon arch. You will need:
- Balloons (in various colours and sizes)
- Balloon inflation equipment
- Balloon decorating strip or fishing line
- Command hooks or balloon clips for securing the arch
Plan Your Design and Colours
Decide on the design and colour scheme for your balloon arch. Will it be a classic rainbow arch, a themed arch, or a monochromatic design? Planning the colours and arrangement of the balloons in advance will help you stay organized during the assembly process.
Inflate the Balloons
Start by inflating the balloons using a balloon pump or electric inflating machine. For a traditional air-filled organic style arch, inflate the balloons to various sizes to create visual interest and texture.
A balloon arch kit can be a helpful tool in creating a uniform and well-structured arch. The kit typically consists of flexible poles that serve as the arch's base, allowing you to attach the balloons easily. Follow the instructions provided with the kit to assemble the arch structure.
Use a Balloon Decorating Strip or Fishing Line
You can also use a balloon decorating strip or fishing line to create the arch. The strip has evenly spaced holes where you can insert the tied balloons. To do this, simply thread the tied end of each balloon through the holes, alternating colours and sizes to achieve the desired pattern.
Build the Arch from the Centre Outward
When assembling the arch, start from the centre and work your way outward on both sides. This will help maintain symmetry and balance in the design. Secure the balloons tightly to the arch structure to prevent them from sliding or sagging.
Create the Desired Shape
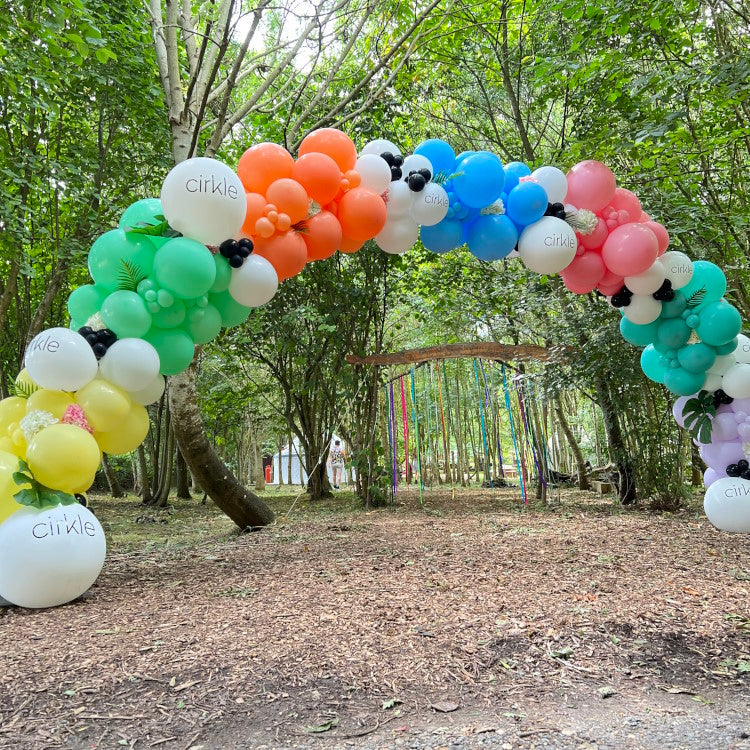
Depending on your vision, you can create different shapes with your balloon arch. A classic half-circle arch is popular for entrances and photo backdrops, while a full-circle arch works well for framing event stages or cake tables. For more elaborate designs, consider incorporating twists and turns in the arch.
Add Greenery or Other Foliage Decorations
To enhance the beauty of your balloon arch, consider adding greenery or other decorations, such as flowers, ribbons, or fairy lights. These additional elements can complement the balloons and add a touch of sophistication to the overall design.
Secure the Arch
Once you have completed the arch, secure it in place using command hooks or balloon clips. Make sure the arch is stable and won't move or topple over during the event!
Enjoy Your Stunning Balloon Arch
With your balloon arch complete and securely in place, step back and admire your creation. Your efforts will undoubtedly be rewarded with smiles and admiration from your guests. Whether it's a birthday party, wedding, or corporate event, your balloon arch will become a memorable centrepiece that adds joy and charm to the occasion.
Creating a balloon arch is a fun and rewarding project that allows you to add a touch of magic and elegance to your events. With the right supplies and a bit of creativity, you can design and build a stunning balloon arch that becomes the highlight of your celebration. Whether you opt for a classic rainbow arch or a themed design, your balloon arch will become a conversation starter and a cherished memory for all who attend your event. So, gather your supplies, unleash your creativity, and let your balloon arch be a symbol of joy and enchantment at your next gathering.